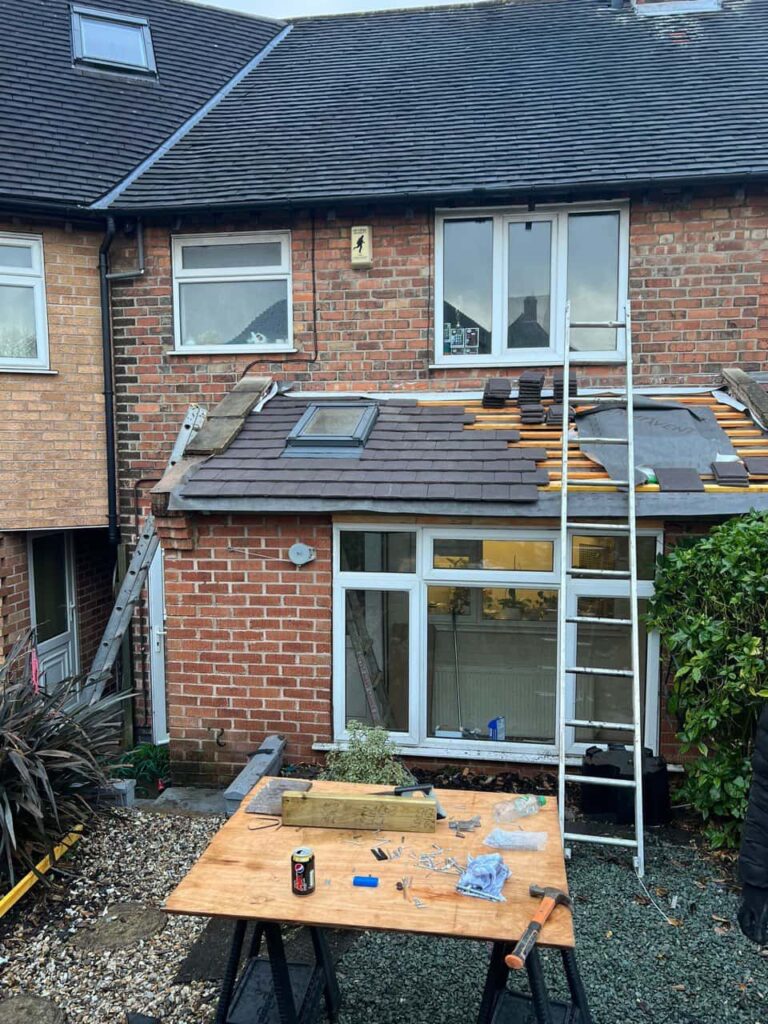
A roof leak does not always appear directly beneath the defect that caused it. Rainwater can enter through a small gap, travel along underlay or timber and finally drip into a room several metres away. This can make the visible damp patch a misleading starting point.
Professional leak detection involves examining the roof as a complete system. Roofers compare external defects with moisture patterns inside the property to trace water back towards its likely point of entry.
Areas Roofers Check When Investigating a Hidden Roof Leak
The Roof Space Above and Around the Damp Area
Where accessible, the roof space is often one of the first places inspected. Water staining, damp insulation and discoloured timber can indicate the route moisture has taken.
Roofers may look for:
- Dark marks on rafters or battens
- Damp or compressed insulation
- Water trails on the underlay
- Rusted nails or fixings
- Daylight entering through gaps
- Moisture around pipes or chimney structures
- Previous repairs near the affected area
The highest visible moisture mark may provide a better clue than the final drip point on the ceiling.
Slipped, Cracked or Poorly Aligned Tiles
A tile does not have to be missing to allow water into a roof. Slight movement can reduce the overlap between tiles and expose the underlay to wind-driven rain.
Roofers examine tile alignment, corners, overlaps and fixings rather than looking only for obvious breakage. A hairline crack or small section of surface damage may also be difficult to identify from ground level.
Lead Flashing Around Roof Junctions
Lead flashing protects junctions where the roof meets chimneys, walls and other raised features. Cracks, lifting edges or movement can create narrow openings that admit water during particular wind directions.
The flashing itself, adjoining mortar and surrounding tiles should all be checked. A defect at one part of the junction can allow water to travel beneath several rows of tiles before becoming visible inside.
Roof Valleys
Valleys carry concentrated flows of rainwater between two roof slopes. They can leak because of damaged linings, failed joints, loose surrounding materials or accumulated debris.
Even a small weakness may only become apparent during prolonged or heavy rainfall. Roofers inspect the length of the valley rather than assuming the defect is positioned directly above the internal stain.
Ridges, Hips and Verges
Ridge and hip tiles protect the highest points and external angles of a pitched roof. Verges finish the outer edges of roof slopes.
The tiles may appear intact while their fixings or bedding material have deteriorated underneath. Gaps can then allow driven rain to reach the supporting layers. Close inspection helps identify movement that may not be visible from below.
Chimneys and Their Surrounding Details
Chimneys contain several potential entry points, including flashing, mortar joints, masonry and the junction with the roof covering. Water may run down the outside of the chimney or enter through defects higher up before reaching the roof space.
Roofers assess the chimney and adjoining roof as one complete detail. Repairing only the nearest tile may not resolve a defect originating from cracked mortar or displaced flashing.
Rooflights, Vents and Pipe Penetrations
Any feature passing through the roof interrupts the continuous covering. Rooflights, ventilation terminals and pipe collars rely on correctly fitted seals and flashing systems.
These components may loosen, split or separate from the surrounding materials over time. Roofers check the full perimeter, including the upper edge where rainwater first meets the penetration.
Gutters and the Lower Roof Edge
Blocked or poorly aligned gutters can cause water to overflow against fascias, soffits and the lower edge of the roof. Moisture may then enter behind materials rather than through the main roof covering.
Roofers examine gutter joints, outlets, downpipes and the condition of the eaves. They also check whether the underlay directs water correctly into the gutter or has deteriorated near its lower edge.
Flat Roof Seams, Edges and Outlets
On flat roofs, leaks often develop around seams, perimeter edges, drainage outlets or upstands. Small splits and open joints can be difficult to see when the surrounding surface appears sound.
Standing water may also conceal or worsen a defect. Roofers inspect surface levels, blistering, cracking and the points where the covering meets walls or other roof sections.
Previous Repair Areas
An earlier repair is not necessarily the cause of a new leak, but it should be assessed carefully. The repair material may have separated from the original covering, or deterioration may have developed immediately beside it.
Roofers check whether the repair remains properly bonded and whether it addressed the original source of moisture. Several overlapping patches can sometimes make the water route more difficult to trace.
Changes in Roof Shape and Material
Junctions between different roof pitches, coverings or extensions can be vulnerable because several weatherproofing details meet in one place.
Roofers inspect changes in level, hidden channels and connections between pitched and flat roof sections. Water entering at an upper junction may travel beneath the covering before appearing in a lower room.
Could the Moisture Be Condensation?
Not every damp mark is caused by rain entering from outside. Condensation may form when warm, moist air reaches a cold roof space with restricted ventilation.
Roofers consider whether staining corresponds with rainfall or develops independently. Damp insulation, moisture across several timbers and limited airflow may point towards condensation rather than a single external opening.
Why the Weather Pattern Provides Useful Clues
The timing of a leak can help narrow down its source. A problem that appears only during strong winds may involve a lifted edge or vulnerable junction. A leak during prolonged light rain may indicate gradual saturation, while one that develops during intense rainfall may involve drainage capacity or overflowing gutters.
Combining this information with physical evidence helps avoid repairing the wrong part of the roof.
The Importance of a Methodical Inspection
Accurate leak detection involves working from the internal evidence towards the external roof details. Focusing only on the ceiling stain can lead to unnecessary work while the true entry point remains untreated.
A methodical inspection considers:
- Where moisture first becomes visible
- How water could travel through the roof
- Which details sit uphill from the stain
- Whether the leak relates to wind direction or rainfall intensity
- The condition of concealed and visible materials
- Whether more than one defect is present
This allows repairs to target the source rather than merely addressing the symptoms.
Conclusion
When a roof leak is difficult to locate, roofers inspect the roof space, tiles, flashing, valleys, chimneys, penetrations, gutters and previous repair areas. They also consider how water may have travelled and whether condensation could be contributing to the dampness.
Greenhithe Roofing Repairs provides professional leak detection and roof repairs in Greenhithe, Kent. If water is entering your property but the source is unclear, contact the team to arrange a thorough assessment.
Call us on: 01322 952 297
Click here to find out more about Greenhithe Roofing Repairs
Click here to complete our contact form and see how we can help with your roofing needs.